
Caring for your Henna Design:
You just had awesome, all-natural henna applied, probably at an event like a festival or a wedding – now what? How do you take care of your mehndi art to ensure it gets nice and dark, and lasts a good long time?
Four easy steps for taking care of your freshly applied henna
- Be careful while henna dries.
- Keep paste on as long as possible.
- Brush paste off (don’t wash with water).
- Watch stain darken over the next 48 hours

And now for the vintage bit – the part that keeps all the digital stars aligned and working in our favor, tried and true -and also constantly updated – since we first started talking about henna on the interwebs way back in1999:
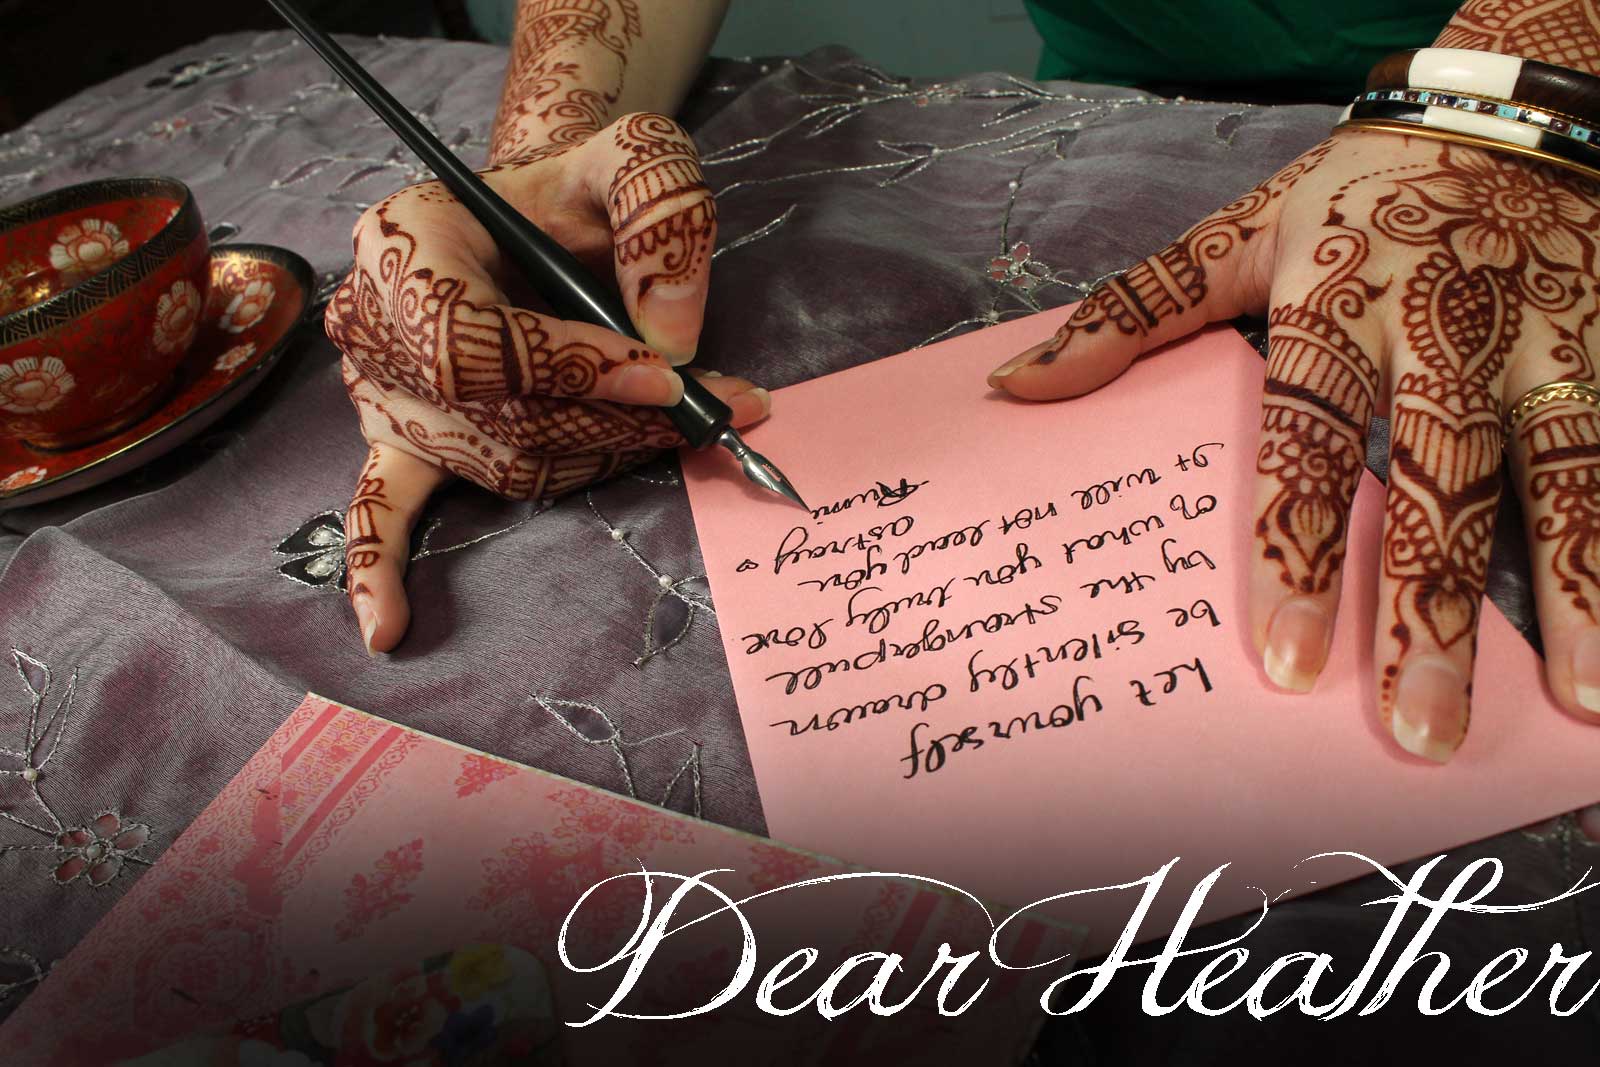
Henna by Heather’s Guide to Caring for Your Henna Tattoo
copyright 1999-2025
This guide explains how to take care of your recently applied henna design with all the tips and tricks we can think of!
It is for those who want to go above and beyond the simple instructions that we have on the backs of our business cards:
First off, make sure you start with high-quality henna from a reputable supplier and have prepared it properly. Without that, the best aftercare in the world won’t help…
1. Let the henna dry.
It will take approximately half an hour before the henna paste is dry enough that you do not have to worry about smudging it. Keep all clothing, hair, etc. away from your henna design for at least half an hour.
2. Leave the henna on.
Leave the henna on as long as possible! The longer you leave the henna on, the darker the color will be and the longer it will last. Leave it on a minimum of 1 hour; overnight is best.
3. Take extra steps for a better stain.
Do either or both of these while the henna paste is still on for best results:
1. Use lemon sugar spray sealant. Be sure not to oversaturate the henna…you want it just a tiny bit wet. Oversaturation will lead to the dye dripping in places you don’t want it.
2.Warm your hands – with steam, a (safe!) fire, or a blowdryer.
Note: Some also recommend wrapping your henna. This is advisable only for those who are having extensive work done, and if someone experienced will be there when the henna has dried so that they can do the wrapping. Wrapping done wrong can lead to undesirable results. Mostly, in my experience, wrapping is unnecessary as long as a high quality henna mix is used. Brides who want to wrap their henna should let an experienced professional do the wrapping for best results.
4. Take the henna off.
Remember…you want to leave the henna on as long as possible. But you will eventually have to take it it off.
When taking off the henna , brush it off with your hand – again, only do this after it has been on as long as possible. Do not wash the henna off! Some people also recommend using a butter knife and olive oil to gently scrape the henna off. I personally find this to be quite messy, and find that brushing the henna off, and then picking off the last bits that are left, to be much more pleasant.
5. Protect the henna from water.
If you have it, put henna balm (like the ones available at Artistic Adornment ) over your design before you bathe, do dishes, or go into a chlorinated pool… Do not use synthetic moisturizers – many people have reported that this makes henna fade *faster*. Even if you have something that says it is natural – check the ingredient list. If it’s got stuff other than plant names in it, chances are you don’t want to use it. If you are in a bind and can’t get a suitable henna balm for some reason, you can use olive oil… but it is slimy compared to products such as the henna balms created specifically by/for henna artists.
This is not a necessary step, but is recommended.
6. Watch the color develop.
The color of your design will at first be a shade of orange (ranging from very light orange highlighter color to pumpkin orange). It will get darker over the course of the next 48 hours, turning anywhere from orange-brown to maroon or chocolate brown. Your design will be at its darkest after 1 or 2 days.
7. Take care to maintain your henna as long as possible.
Avoid chlorine, salt water, dishsoap, bleach, other cleaning materials, and any other harsh chemicals. You can bathe and shower as usual. Avoid hand sanitizer – it is the #1 thing that unintentionally kills henna stains FAST. Acetone nail polish remover has also been known to fade henna stains more quickly.
To get rid of the henna more quickly on purpose, exfoliate using a loofah, pumic stone, and/or exfoliating scrub. Don’t scrub too crazily and hurt yourself… you’ll have to do it a bit at a time.
Would you like to hear even more about how to ensure you can get nice, dark color from your henna?
Check out this video on Heather’s YouTube channel – then be sure to subscribe so you get future henna updates!
Henna Aftercare tl;dr
When it comes down to it, realistically, what we said at the top of the page really is the vast majority of what most people actually need to know about how to take care of their henna design, and is short enough that you might actually remember it:
- Be careful while henna dries.
- Keep paste on as long as possible.
- Brush paste off (don’t wash with water).
- Watch stain darken over the next 48 hours

